Project 3 - Compositing Animated Assets
There were three main goals for this project:
Shoot a live action plate with a “box”. Camera should have subtle motion and be tracked.
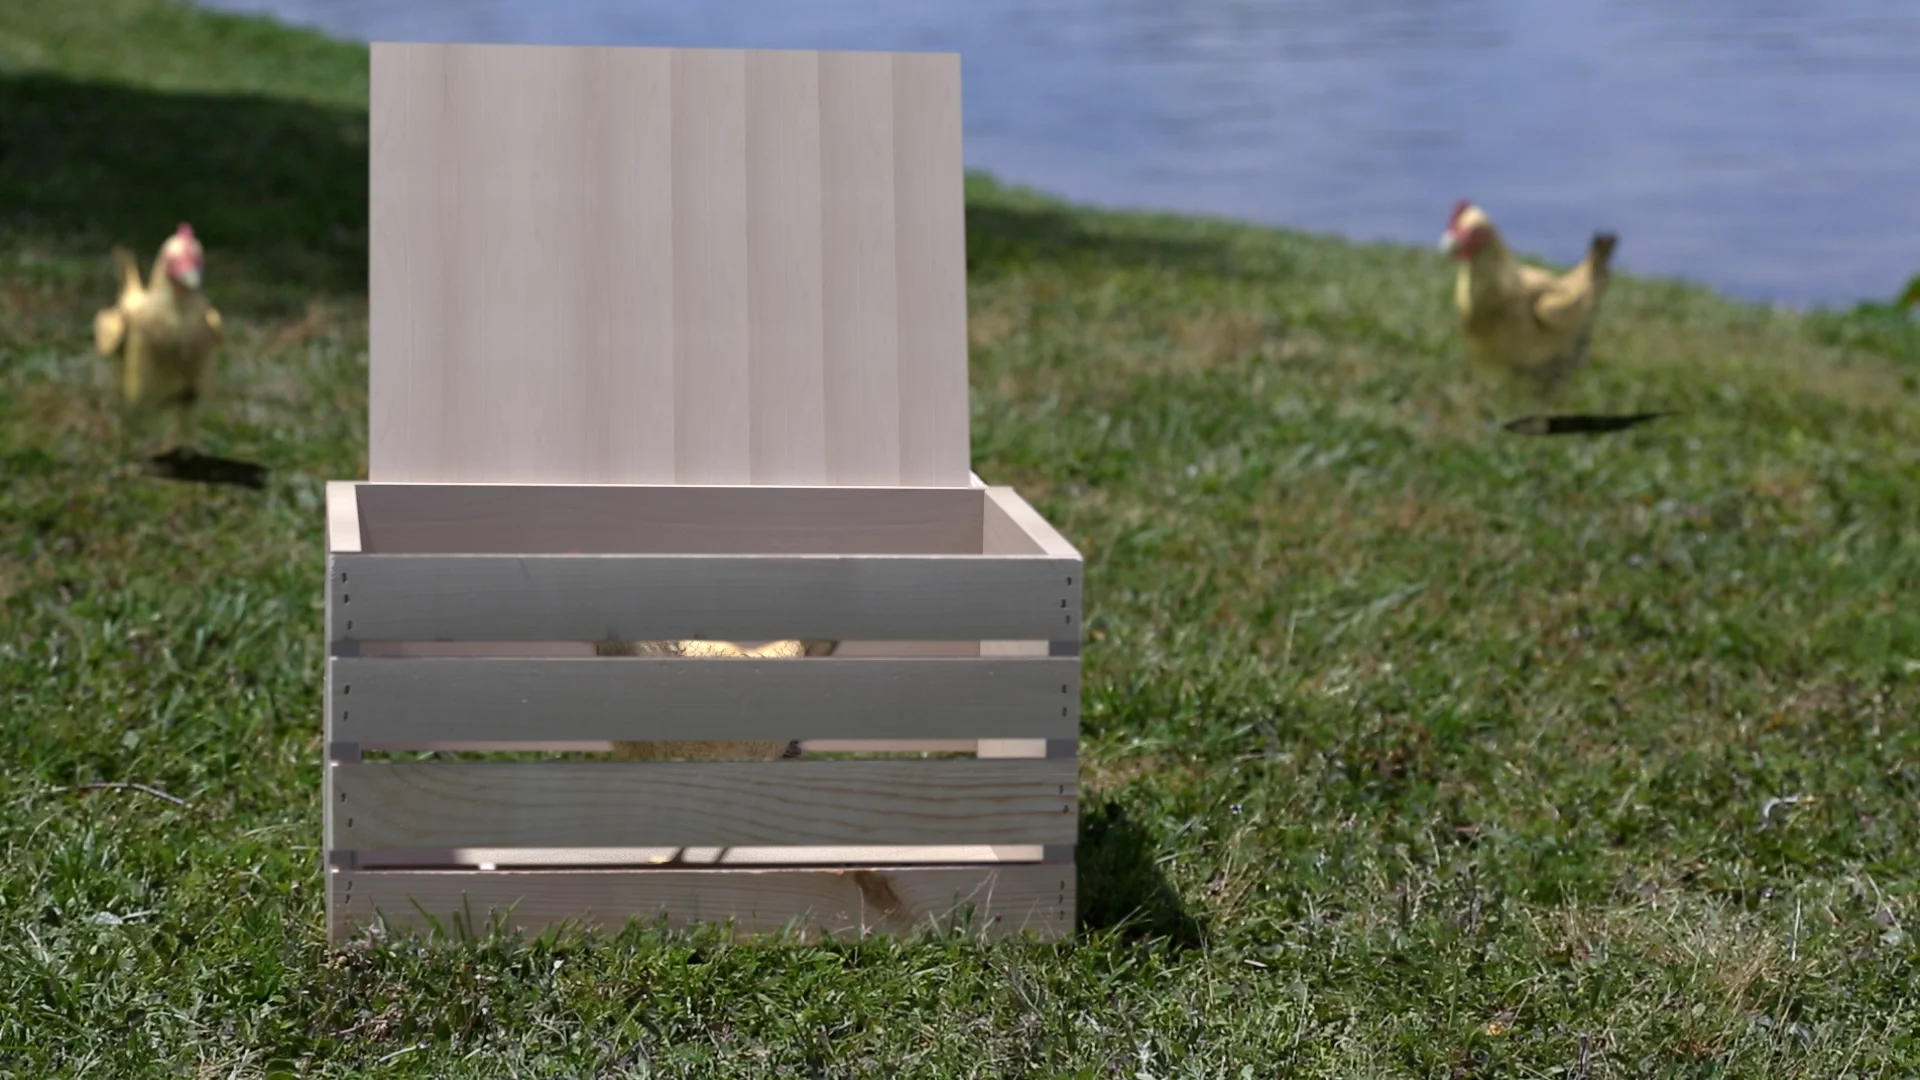
Use projection and integration techniques to “open” the “box” in a live action plate.
Integrate a character, particle effect, or other animated asset with complex deformations into the same scene.
Process:
Photography:
The first step of this project is to take a series of photos of a place with unique light and shadows. The goal is to make the photos interesting and have a clear focus on the composition of light and shadow. The box should be the primary focus of the shot, and the object will need to interact with the environment by casting shadows and reflecting
In order to provide objects to use as reference in the photos, I used a Light Integration Kit which includes: a wooden cube with square edges, a grey or white sphere, and a chrome sphere.
In the end there should be a set of atleast 11 photos and 1 video:
(1) video with some sort of camera move
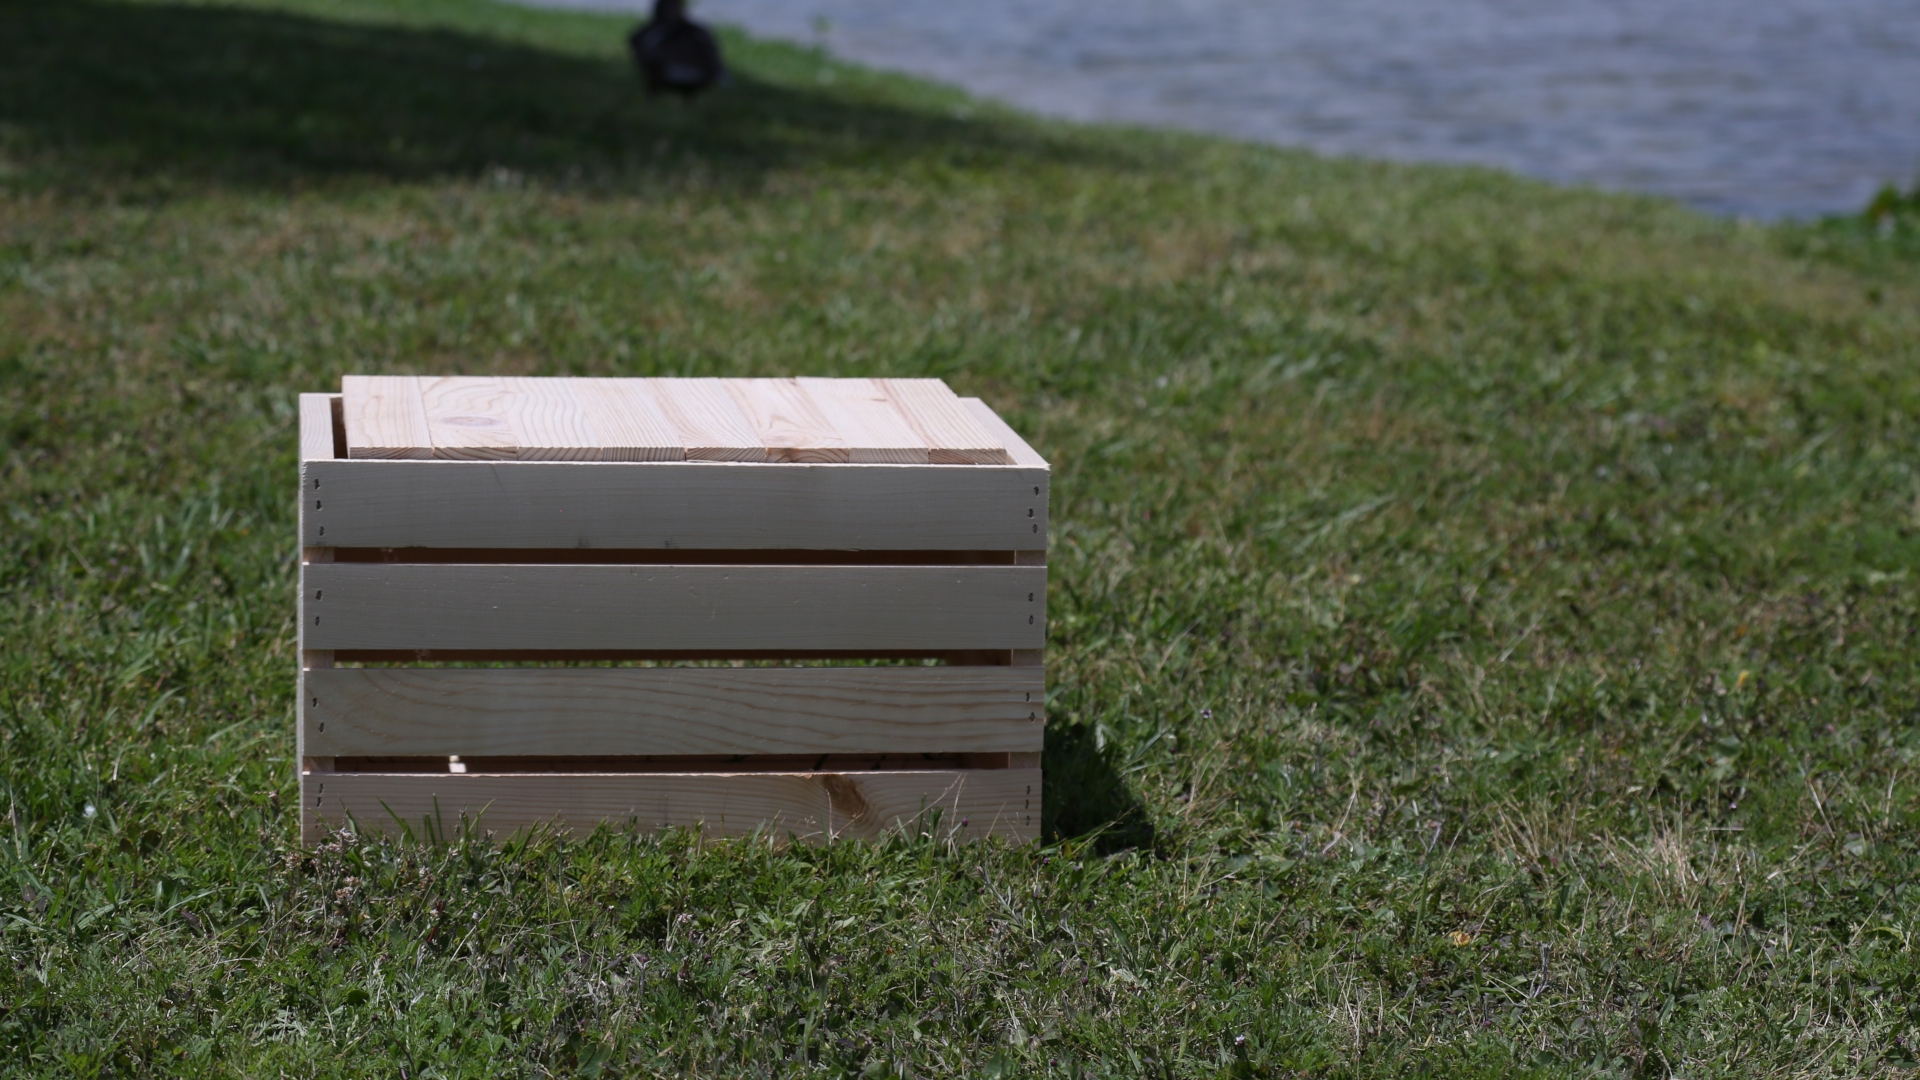
(1) Image of a clean plate of the scene with the box in light and shadow
(1) Image of the box with blue paper in it
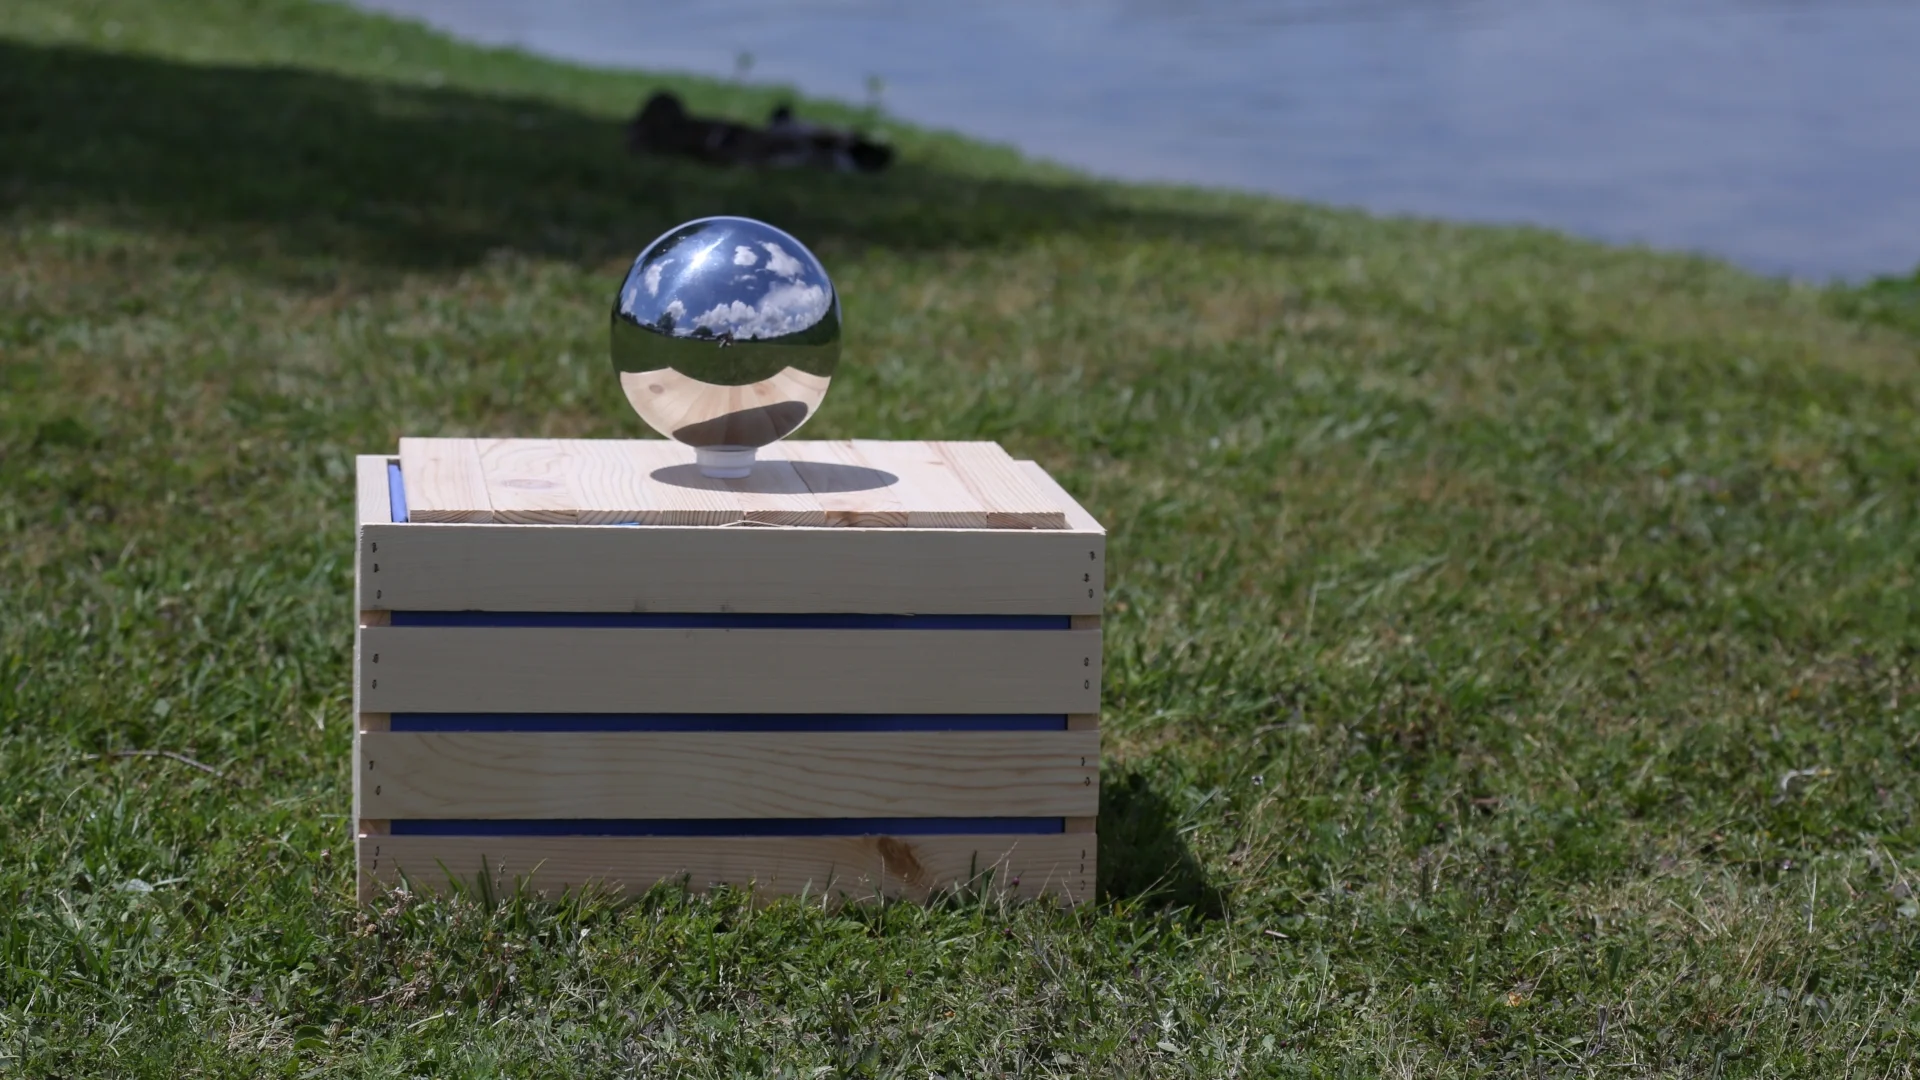
(1) Image of the grey/white sphere in light
(1) Image of the chrome sphere
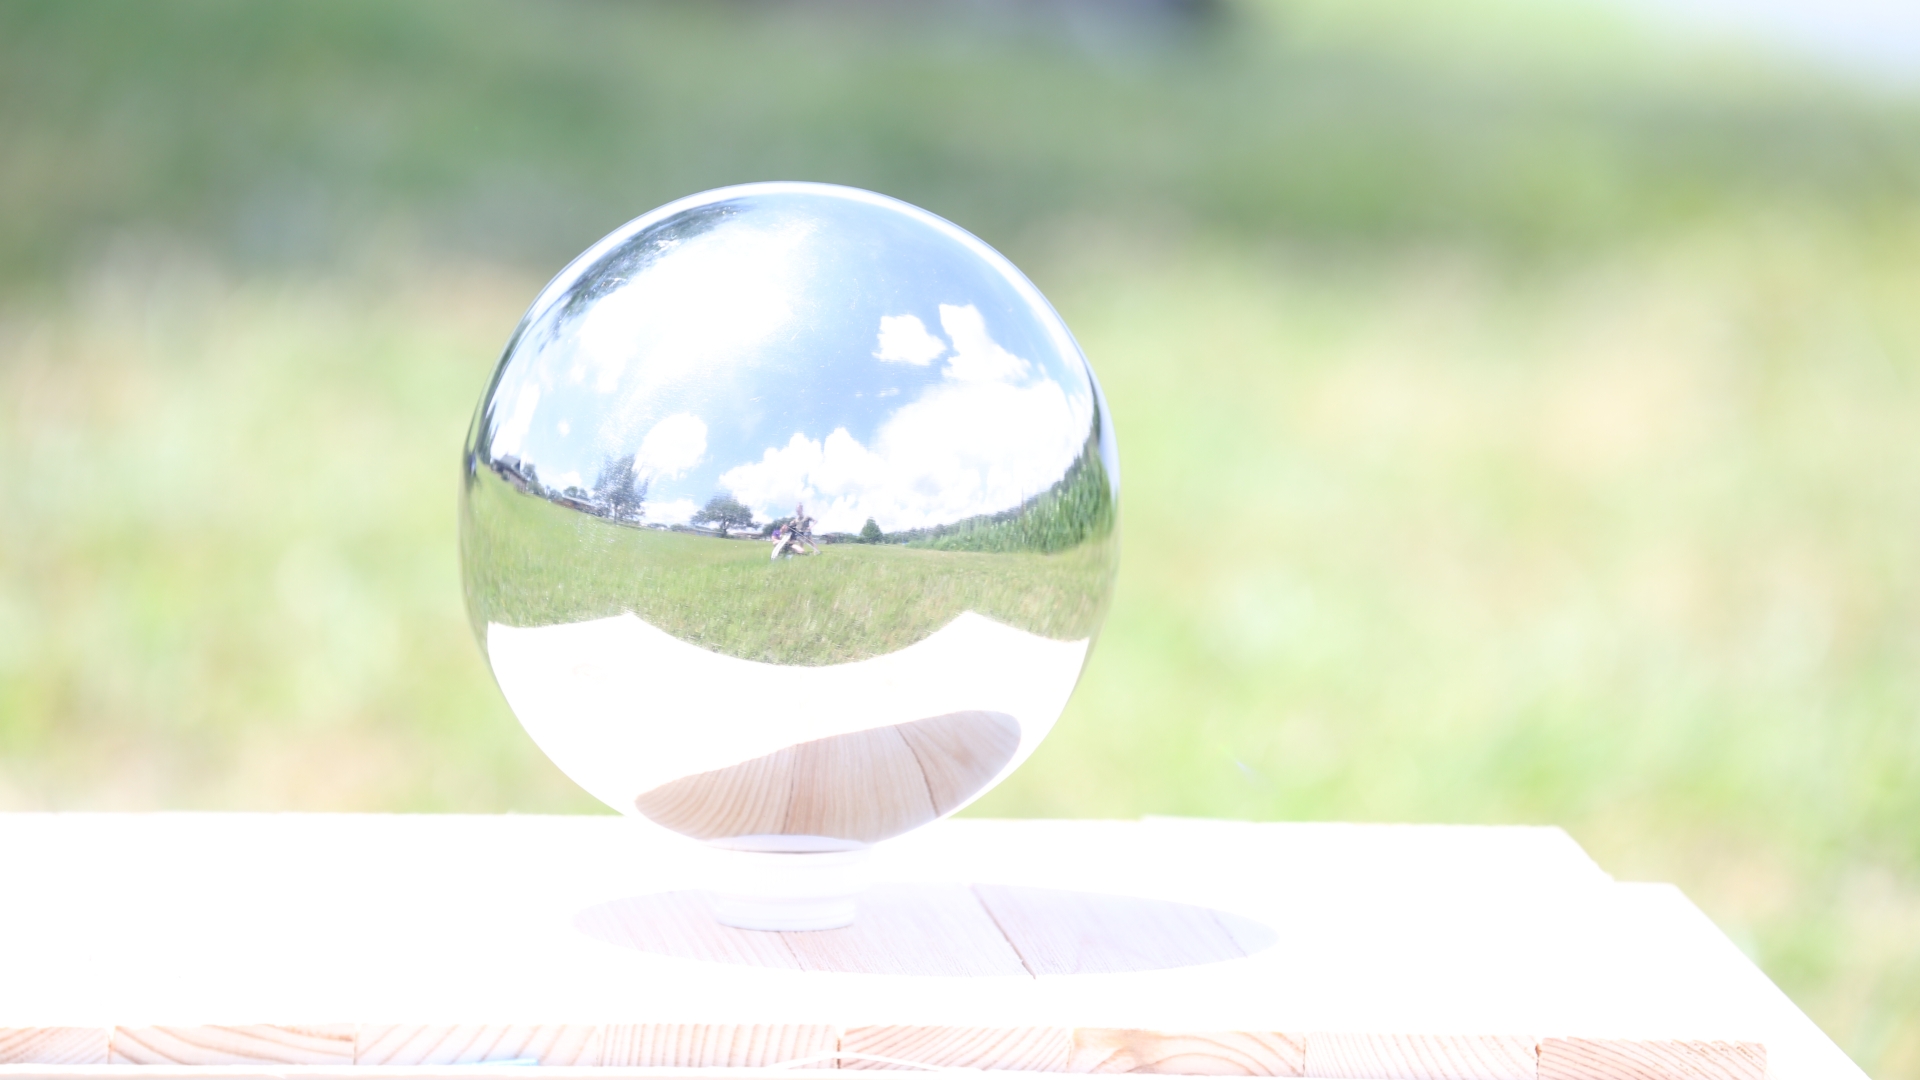
(7) Images of the chrome sphere zoomed in at 7 different exposure levels
My Photos:
Camera: Canon EOS 5D Mark III
Image Size: 5760 × 3840
F Number: 6.7
Exposture Time: 1/2000
Color Space: RGB
Focal Length: 95
Chrome Ball at 7 Exposure Levels:
Nuke Camera Track:
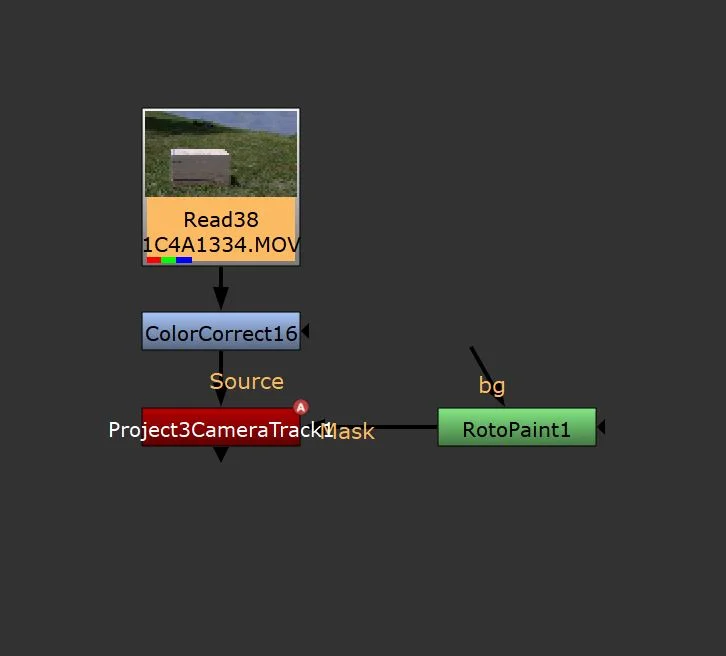
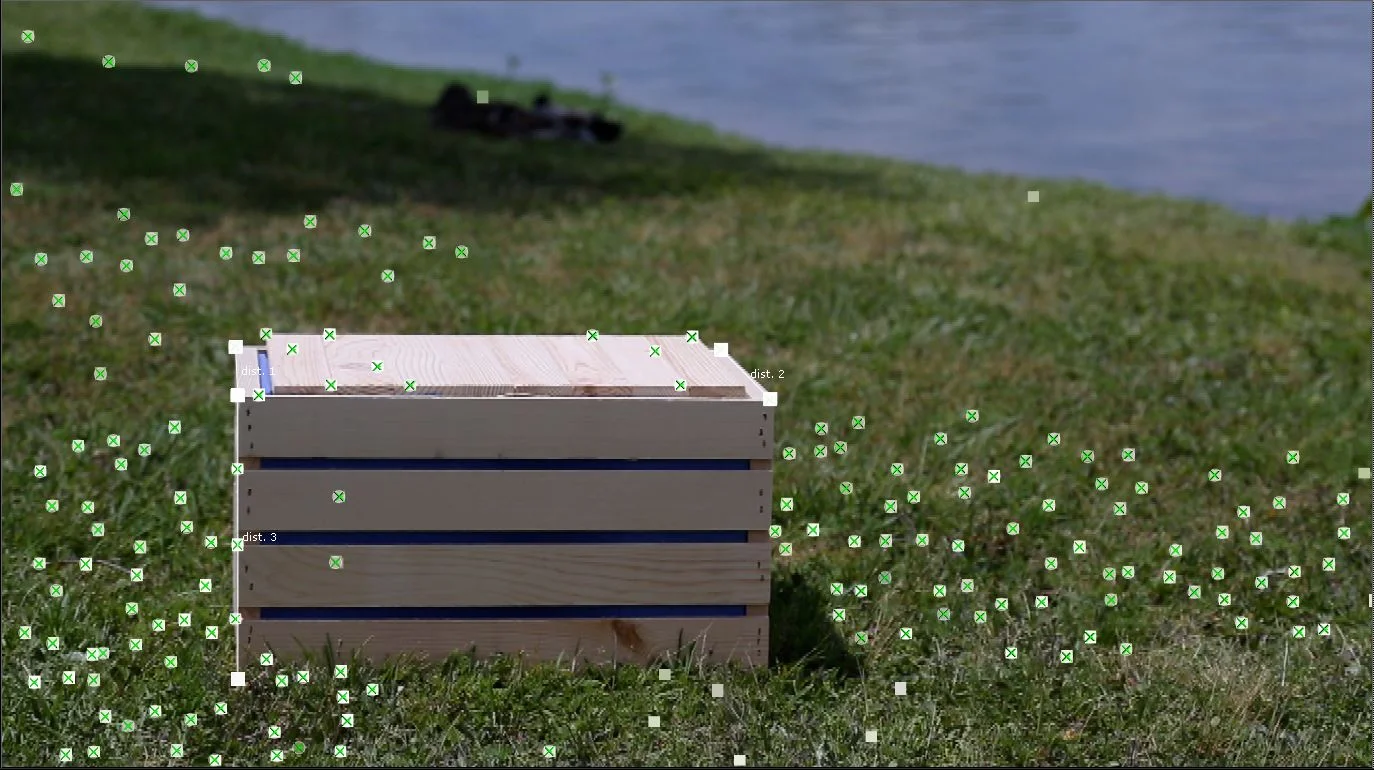
Before running the Camera Tracker in Nuke, I first color corrected my plate to add more contrast. Then I created a Roto to mask out the water because the water in the plate is moving and I did not want the tracker to try to track that movement. Next, I was able to set the settings in the Camera Tracker.
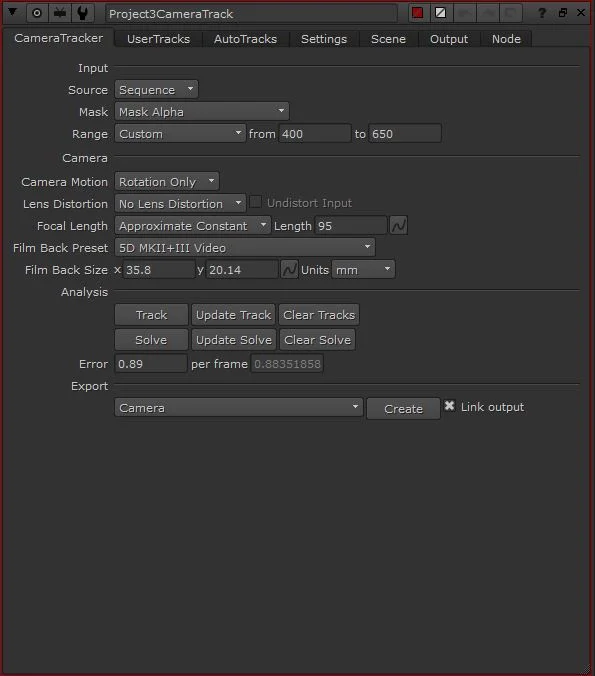
Camera Tracker (Different from Default):
Mask: Changed to Mask Alpha
Range: Custom from 400 to 650
Camera Motion: Rotation Only (I chose this option because my camera was static and only rotating. My camera only rotated in the x direction, and with other camera motion options I was getting additional rotation in the camera track from other rotational directions.)
Focal Length: Approximate Constant, Length 95
Film Back Preset: 5D MKII+III Video
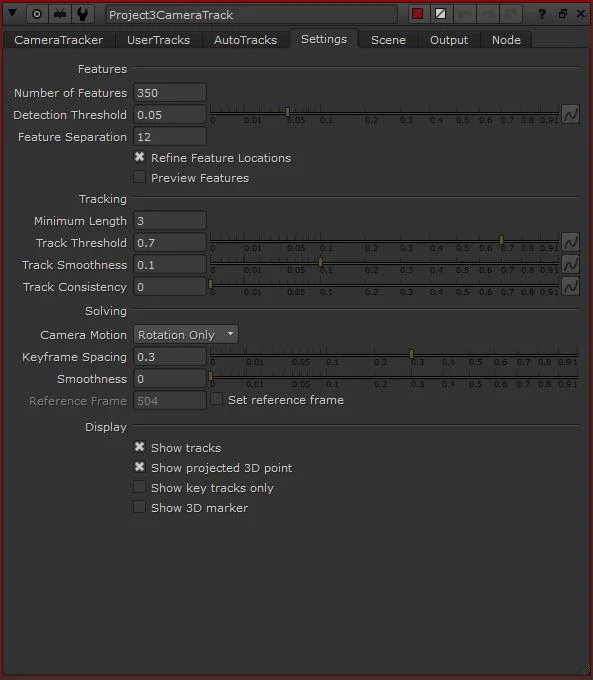
Camera Tracker Settings (Different from Default):
Number of Features: 350
Refine Feature Locations: Turned On
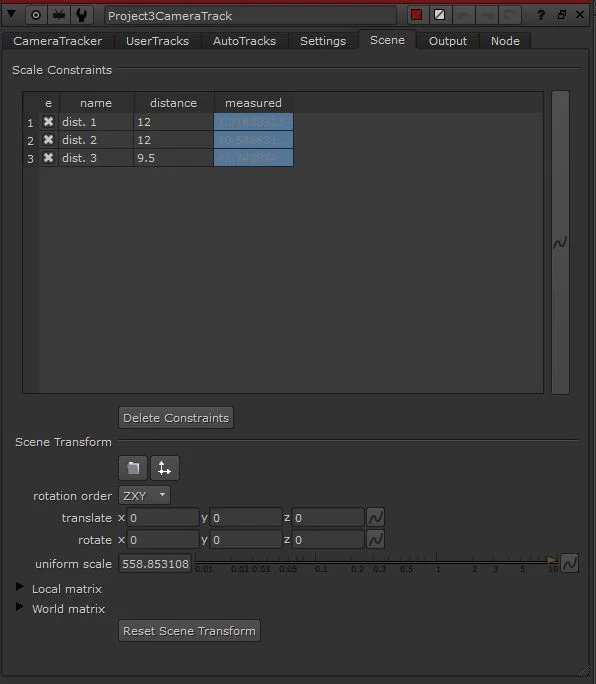
After running the Camera Tracker and solving it, I was able to select certain points and add scene measurements. This information will be useful when bringing the camera track into Maya, because it adjusts the scale of the scene.
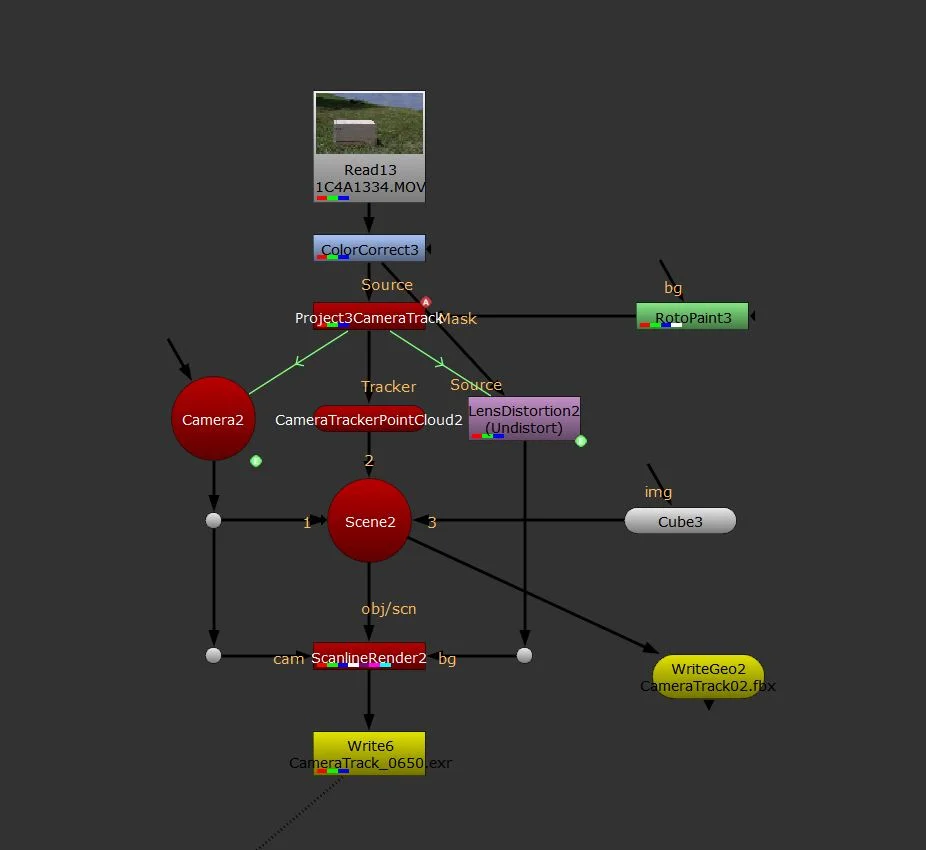
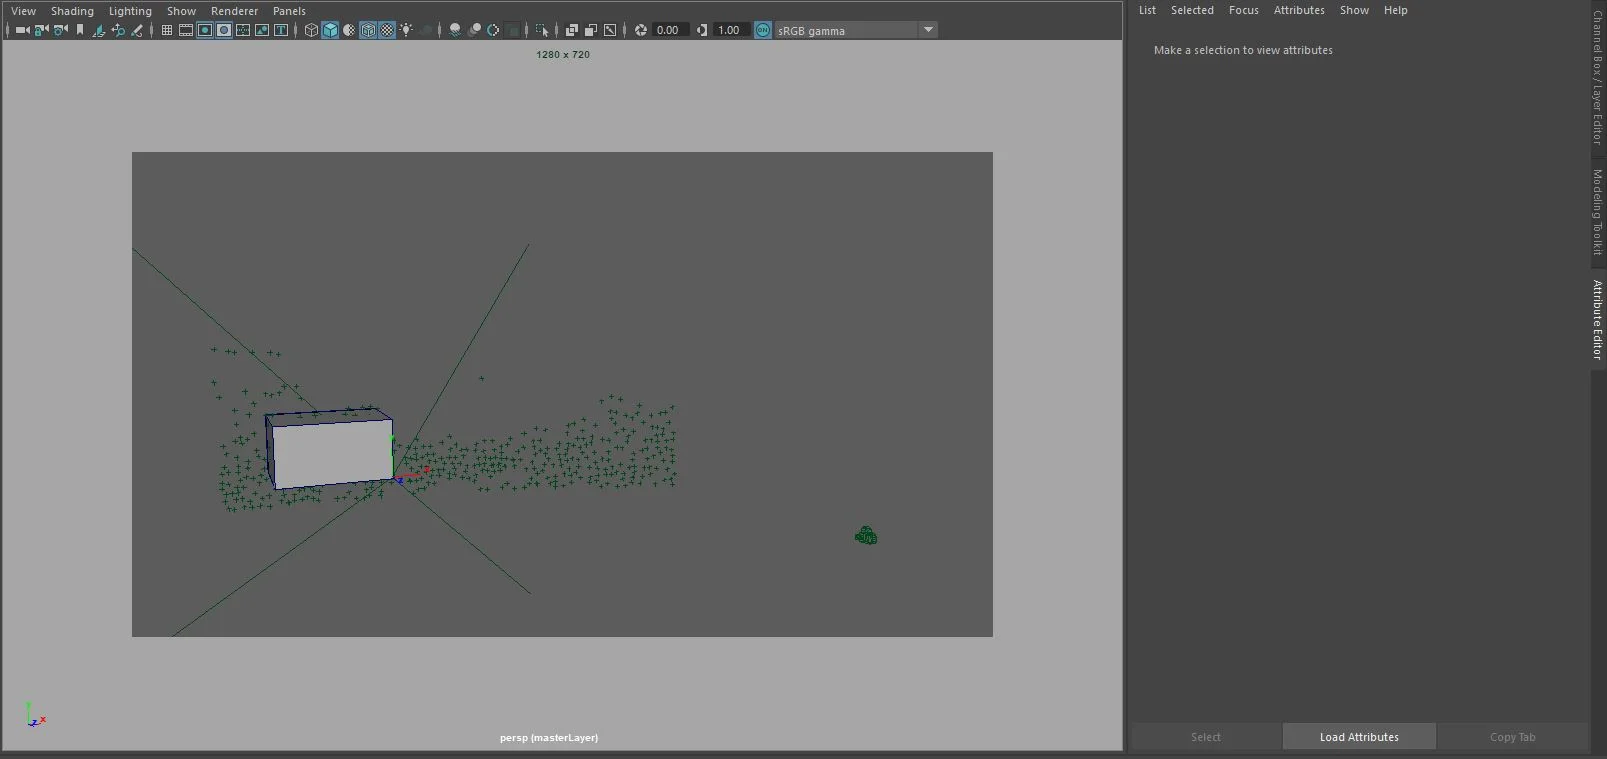
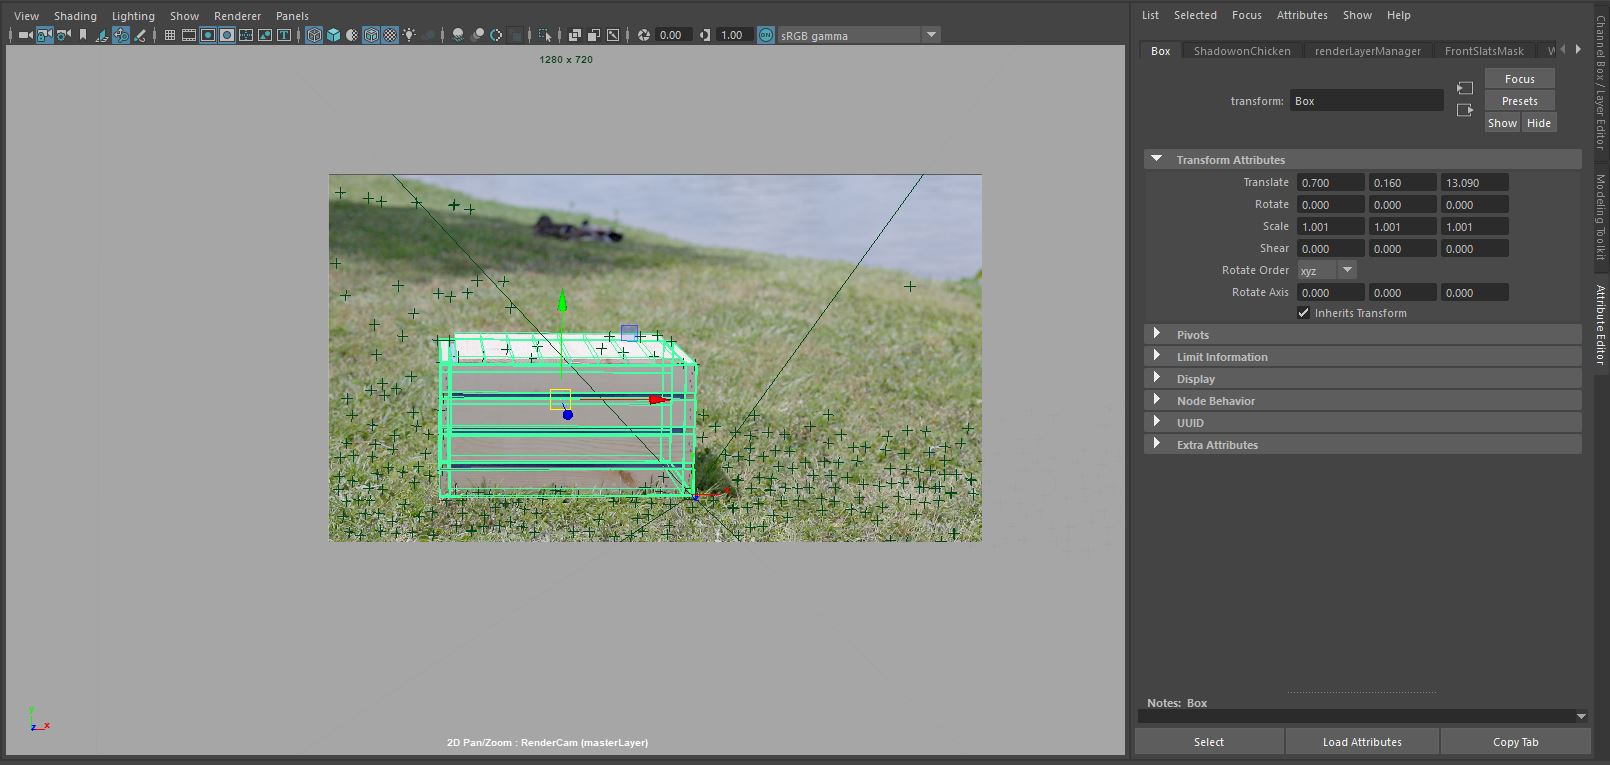
After finishing the camera track, I was then able to create a Scene+, and from there I created a cube that aligned with my box in the plate. Then I was able to export the camera, cube geometry, and tracker points as an FBX with a WriteGeo node.
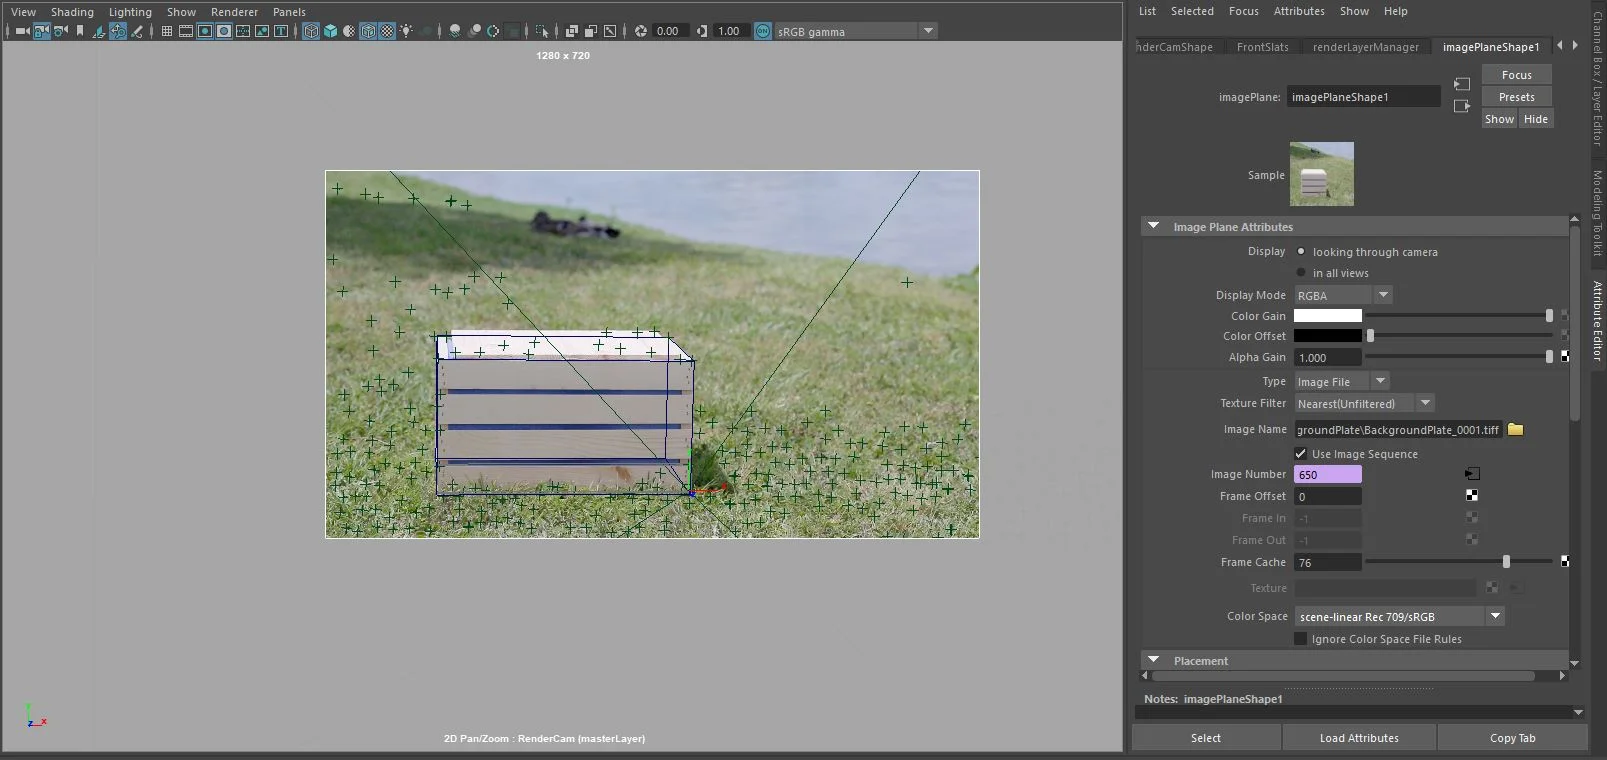
After creating a new scene in Maya, I imported the FBX Camera Track and grouped the Camera, Tracker Points, and cube geometry together. I changed the name of the Camera to RenderCam. I used an image sequence of my background plate as an image plane connected to the RenderCam. Next I was able to move and rotate the imported group until it aligned with the background plate. Then I replaced the reference geometry of my box, with the crate that I modeled.
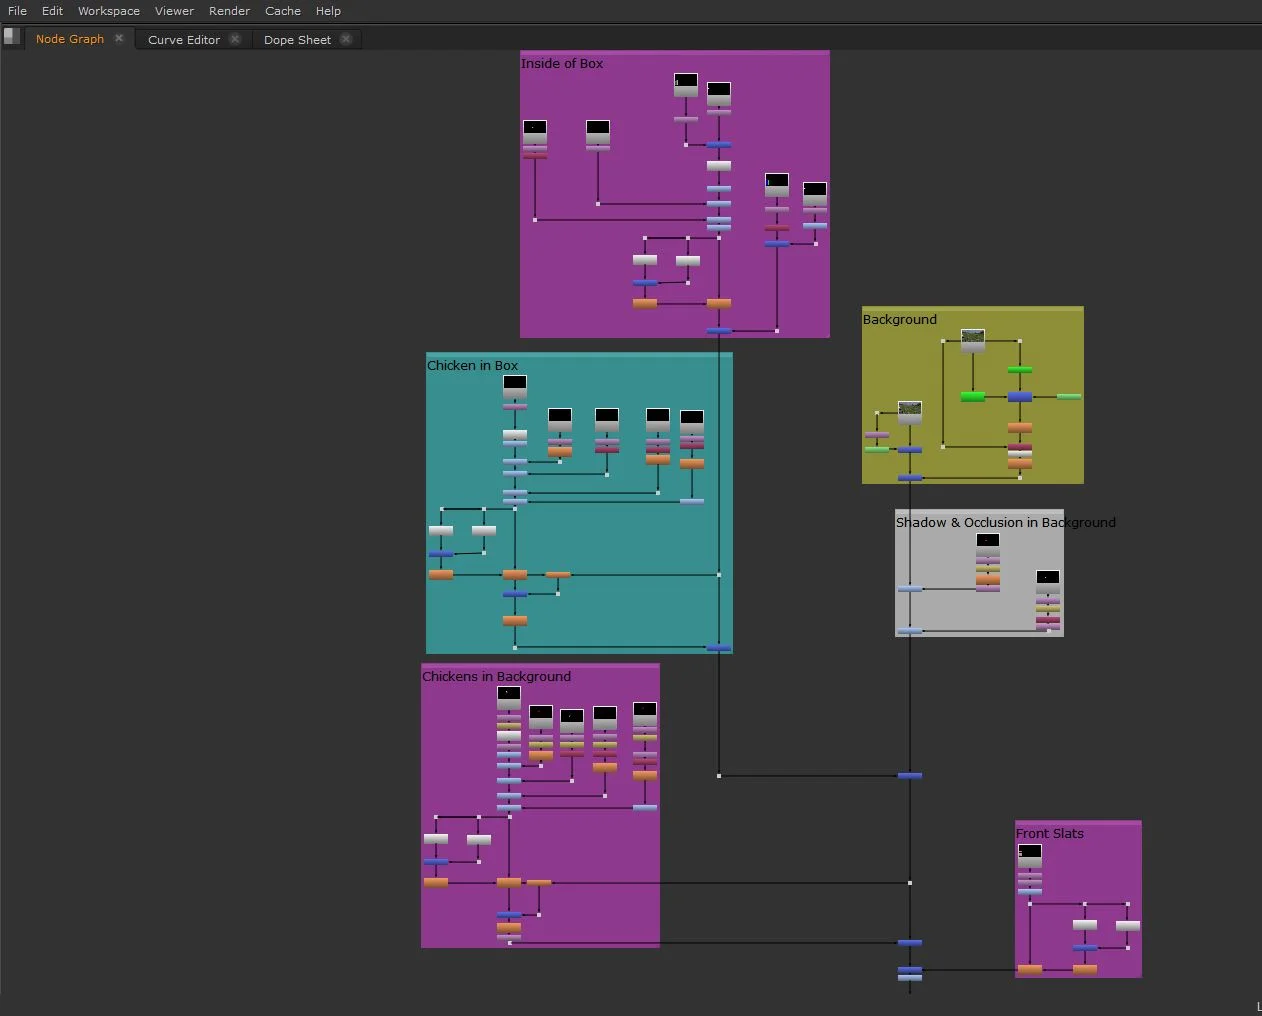
With everything aligned, I began creating Render Layers in order to composite a chicken into the box.
Render Layers:
Lid Projection Layer:
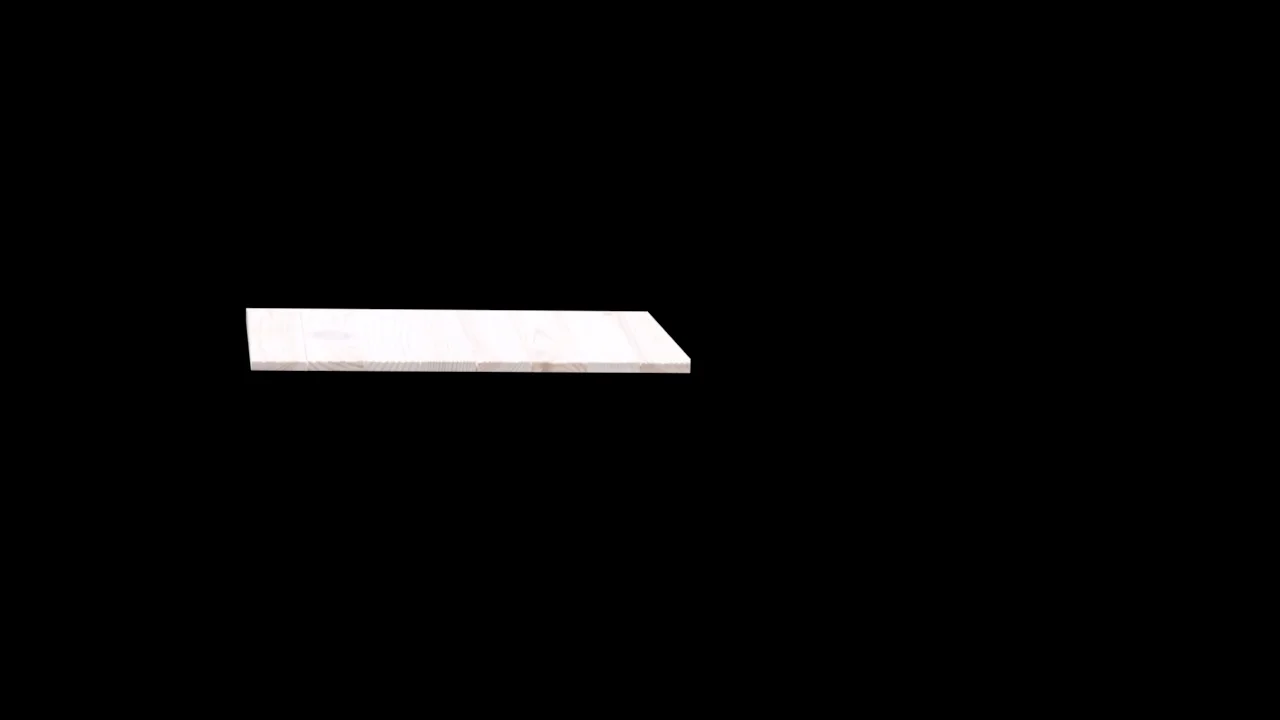
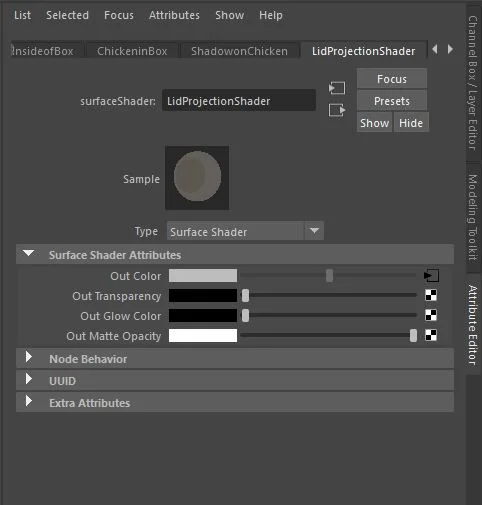
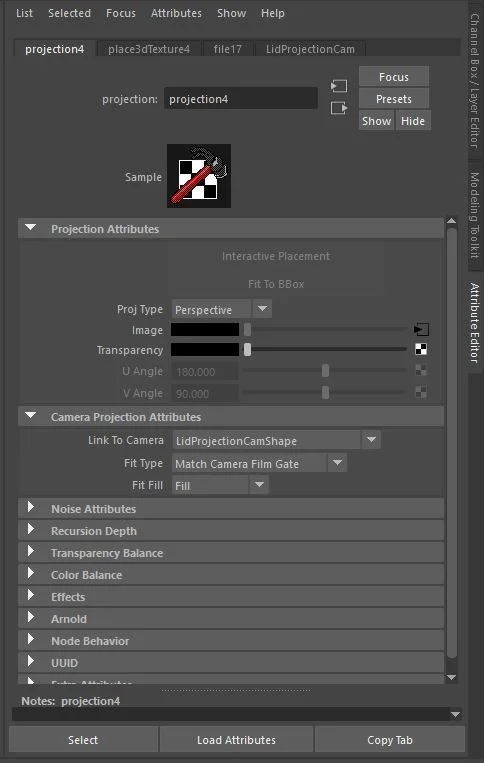
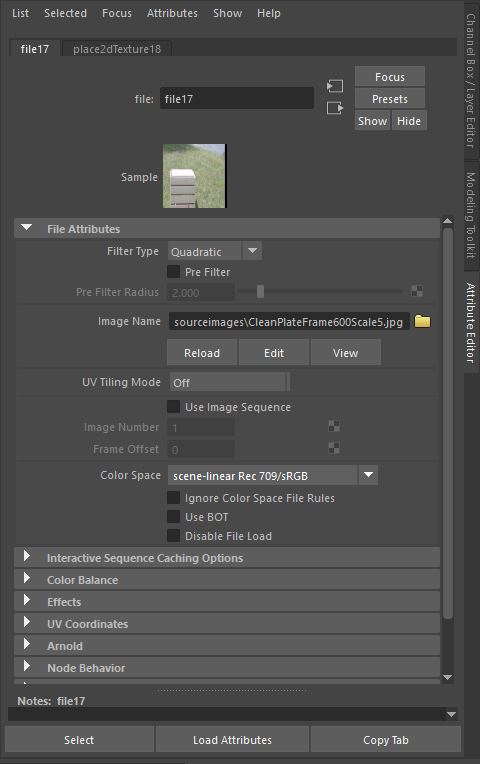
To create the top of lid, I created a projection of the original lid from the background plate. To do this, I chose a frame in the middle of the sequence, and duplicated the RenderCam on that frame. I renamed this camera to LidProjectionCam. Next, I applied a Maya Surface Shader to the lid. On the out color I selected a file as a projection. I changed the projection type to Perspective and connected the new LidProjectionCam. I was then able to select the same frame number as the duplicated camera to project onto the lid.
Inside of Box Layer:
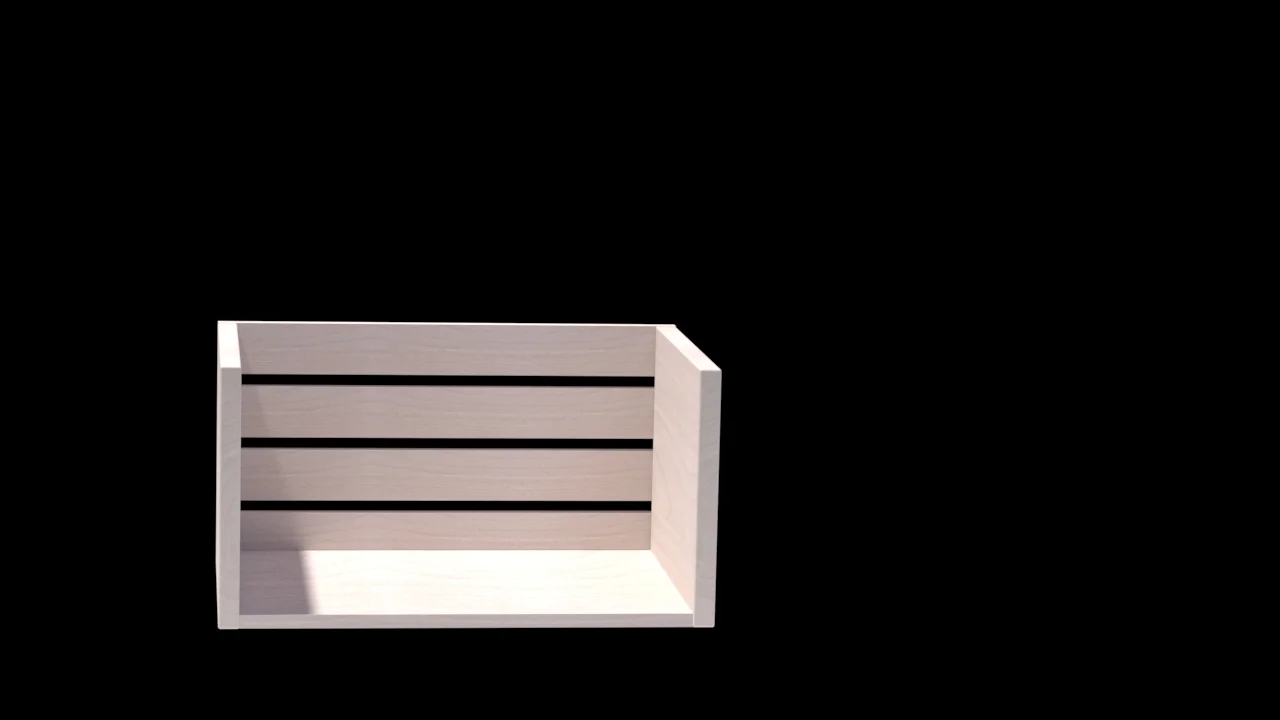
To create the inside of the box of I found a series of textures images on textures.com, and created my own wood shader.
Masks Layer:
I created a mask layer to pull out the top of the lid from the inside of the lid so that I could combine the lid projection render with the inside of the lid render.
Chicken Layer:
For this project I animated chickens moving, and I found the chicken on sketchfab.com along with the textures.
Chicken Shadow Layers:
I created two separate shadow layers to add shadow to the ground below the chicken, as well as on top of the chicken.
Chicken Occlusion Layers:
I created two separate occlusion layers to add occlusion to the ground below the chicken, as well as on the chicken.
Front Slats Layer:
To create the front slats, I used a similar process as the lid projection. I created a projection of the original slats from the background plate. To do this, I used the same LidProjectionCam. Next, I applied a Maya Surface Shader to the lid. On the out color I selected a file as a projection. I changed the projection type to Perspective and connected the new LidProjectionCam. I was then able to select the same frame number as the duplicated camera to project onto the front slats.


